9 min read
Disclosure: As an Amazon Associate and eBay Partner Network publisher, we earn from qualifying purchases. This doesn’t affect what we recommend or how we describe it.
Adjustable dumbbells are a rare piece of fitness gear that genuinely serves more than one kind of buyer. Space-strapped apartment dwellers want a compact, tidy solution for strength training at home. Home gym enthusiasts need a system that can keep up with progressive overload, without a dozen plates rolling underfoot. Even rehab users or beginners benefit from the flexibility to fine-tune weight in small increments. Yet the process of assembling these dumbbells—whether you’ve bought a dial, pin, or spinlock style—can be far less intuitive than manufacturers admit. Miss a step, and you risk loose plates, jammed mechanisms, or a stubborn rattle that ruins your workout. Here’s what actually matters when putting adjustable dumbbells together—and how to do it right the first time.
Three Distinct Adjustable Dumbbell Mechanisms and What They Mean for Assembly
Not all adjustable dumbbells are built alike. The type of adjustment mechanism you choose directly shapes your assembly process, maintenance, and long-term use. Here’s how the three most common designs stack up:
- Spinlock/Collar Systems: Classic and budget-friendly. Weight plates slide onto a threaded handle, then lock into place with a screw-on collar. No moving parts, but you manually add or remove plates for every adjustment.
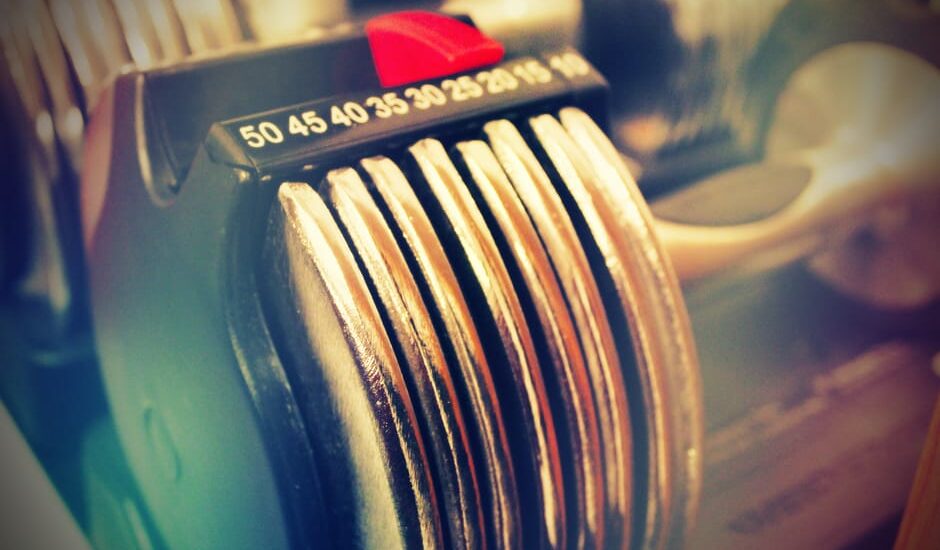
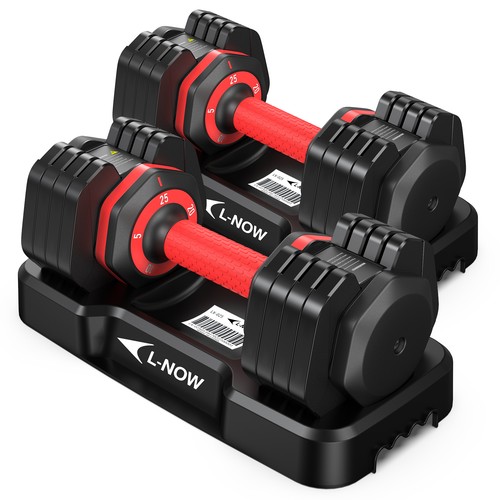
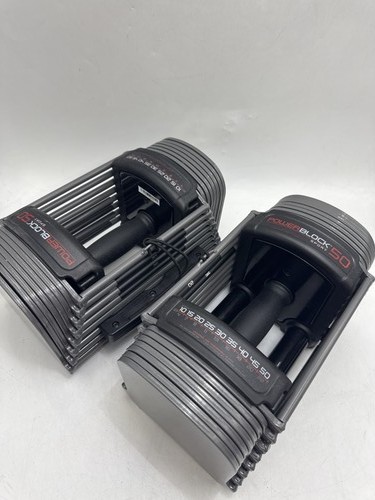
- Selectorized Dial or Pin Systems: Modern sets with a fixed handle and a dial (or pin) that selects the desired weight. Plates remain in a cradle or tray; turning the dial or sliding the pin “selects” the plates to lift. Assembly is more about correct initial setup and plate alignment.
- Quick-Change Slide Systems: Newer, less common designs using a sliding lever or magnetic mechanism to instantly add or drop weight plates. Usually pre-assembled, but require periodic checking for alignment and tightness.
Each type has its quirks—and its own assembly pitfalls. Spinlocks demand careful collar tightening, while selectorized dials require precise plate stacking. Understanding your mechanism is step one to a safe, rattle-free setup.
How the Main Types Compare for Assembly, Adjustability, and Space
| Mechanism Type | Assembly Complexity | Weight Range (per dumbbell) | Increment Size | Space Required | Price |
|---|---|---|---|---|---|
| Spinlock/Collar | Manual plate & collar | 5–100 lbs | 2.5–5 lbs | Medium (plated) | $ |
| Selectorized Dial | Tray & dial alignment | 5–52.5 lbs | 2.5–5 lbs | Compact (all-in-one) | $$$ |
| Pin Selector | Tray & pin setup | 10–90 lbs | 5–10 lbs | Compact (all-in-one) | $$ |
| Quick-Change Slide | Minimal (factory set) | 5–44 lbs | 4 lbs | Very compact | $$ |
What Can Go Wrong If You Assemble Adjustable Dumbbells Incorrectly?
The risks of poor assembly go beyond annoyance. A loose collar or misaligned plate can cause:
- Sudden plate drops — risking injury or property damage.
- Rattling or shifting weight — compromising your grip and exercise form.
- Jammed mechanisms — especially with selectorized or quick-change models, leading to stuck plates or broken selectors.
- Thread or locking wear — overtightening spinlocks can strip threads or damage collars, shortening the lifespan of your set.
Proper assembly isn’t just about convenience. It’s a safety and longevity issue—especially as you move to heavier weights over time.
Step-by-Step: How to Assemble Adjustable Dumbbells Safely
- Identify your dumbbell mechanism. Check the manual or product listing to confirm if you have a spinlock, selectorized dial/pin, or quick-change slide system. This determines your assembly steps.
- Lay out all components on a flat surface. For spinlocks, organize handles, plates (by weight), and collars. For selectorized and pin systems, ensure all plates are present and the tray or cradle is positioned correctly.
- Assemble the handle and base. For most selectorized and pin systems, the base or tray holds all plates—snap or screw it together per instructions. Spinlocks skip this step.
- Load weight plates in correct order. With spinlocks, slide plates onto the handle, starting with the heaviest closest to the grip. With selectorized/pin models, stack plates in the tray in the order and orientation specified—wrong stacking can jam the selector.
- Secure with collars or lock mechanism. For spinlocks, screw collars tightly against the outermost plate; test for movement by shaking gently. For dial/pin/slide systems, ensure the selector mechanism engages fully and locks the chosen plates securely.
- Test each adjustment increment. Cycle through all available weights, removing and replacing the handle (if applicable), or turning the dial/lever. Confirm that plates engage and disengage smoothly with no sticking or misalignment.
- Tighten and recheck after first use. After your initial workout, re-inspect all collars, selectors, and plates. Retighten or realign as needed—especially for spinlocks, which can loosen with vibration.
For a visual walkthrough, some manufacturers offer official assembly videos. When in doubt, consult these resources or the included printed manual.
Related Guides
Selectorized Dials vs Spinlock Collars: Which Is Faster to Adjust?
Adjustment speed is a major factor for circuit training or drop sets. Selectorized dials and pin systems let you change weights in 2–5 seconds—just turn or slide, and lift. Spinlocks, by contrast, require unscrewing collars, manually swapping plates, and retightening—taking anywhere from 30 seconds to 2 minutes per adjustment. Quick-change slide systems offer near-instant increments but are usually capped at lower maximum weights (typically 44 lbs per dumbbell).
If you plan to change weights frequently mid-workout, selectorized systems are the clear winner. For those who stick to one or two weights per session, the slower spinlock may be worth the savings.
Compare today’s dealsWhat Plate Materials Mean for Assembly and Durability
Plates typically come in three materials: cast iron, steel, or coated composite. Cast iron and steel offer the best longevity and a classic “gym feel,” but can chip floors if dropped. Composite or rubber-coated plates are quieter and less likely to scuff surfaces, but can crack if overtightened or dropped from height. Plate thickness also varies—steel plates may be as thin as 1.5 cm for 5 lbs, while composite plates can run 2–2.5 cm thick, affecting how many fit on a spinlock handle. Always check the manufacturer’s max plate diameter and handle length (commonly 35–40 cm) before loading.
View optionsAssembly Tips Most Manuals Skip (But You Shouldn’t)
- Use a torque pattern for collars: Tighten each collar, then back off a quarter-turn and retighten. This seats the plates evenly, reducing “rattle.”
- Stack selectorized plates logo-side out: If plates are notched or labeled, orientations matter. Misaligned plates can jam the dial or pin selector.
- Lubricate threads and moving parts lightly: A drop of silicone spray or dry lube on spinlock threads or selector levers can prevent sticking and extend lifespan. Avoid oil-based lubes, which attract dust.
- Check for burrs and sharp edges before assembly: Especially with budget sets, run a cloth over plates and handles. File down any rough spots that could tear your hands or gloves.
- Don’t overtighten collars: Hand-tight plus a quarter-turn is usually enough. Over-torquing can strip threads or crack composite plates.
Total cost of ownership
Buying adjustable dumbbells is just the start. Here are real-world costs you’ll likely encounter over the first 2–3 years:
- Replacement collars or selectors: Spinlock collars and selectorized dials are the most common wear points. Expect to replace at least once every 1–2 years, at a cost of $15–$40 per pair.
- Additional plates for expansion: Many spinlock systems can be upgraded with extra plates. Sets rarely include the full 100 lbs—budget $25–$60 per year if you plan to grow your set.
- Protective mats or racks: To prevent floor damage or plate chipping, a decent gym mat (1–2 cm thick) is a smart investment. Annual cost: $20–$50.
- Lubricants and cleaning supplies: A bottle of silicone spray or dry lube and a microfiber cloth add $10–$20 per year but can extend lifespan and keep mechanisms smooth.
- Storage upgrades: Some users eventually add a rack or upgraded tray for selectorized sets, especially if original cradles warp or break ($30–$70 depending on capacity).
These hidden costs are rarely advertised, but they add up—especially if you train regularly or share your set with others.
Frequently Asked Questions About Assembling Adjustable Dumbbells
How long does it take to assemble adjustable dumbbells for the first time?
Most spinlock sets take 15–25 minutes to assemble fully, including organizing plates and tightening collars. Selectorized dial or pin systems are usually preassembled, requiring only 5–10 minutes for plate alignment and tray setup. Quick-change slide models often arrive ready to use out of the box.
Are all weight plates compatible with every adjustable dumbbell?
No—plate compatibility depends on both the handle diameter and the locking mechanism. Spinlock models typically use 1-inch or 2-inch holes; selectorized and pin systems use proprietary plates that cannot be swapped with standard gym weights. Always check the manufacturer’s specifications before purchasing extra plates.
Spinlock vs selectorized: which is safer in long-term use?
Both can be safe if assembled and maintained correctly. Spinlocks rely on collar tightness, which can loosen over time, so regular checks are essential. Selectorized dials and pins are less prone to loosening but can jam or misalign if plates are stacked incorrectly. For heavy, fast-paced lifting, selectorized systems with solid locking mechanisms tend to be more secure.
What should I do if my adjustable dumbbell rattles after assembly?
First, retighten all collars or locking mechanisms. For spinlocks, ensure plates are seated flush and collars are tightened evenly. For selectorized models, check for misaligned plates or debris in the tray. Persistent rattling may indicate worn threads or damaged locking parts, which should be replaced.
Can I assemble adjustable dumbbells without special tools?
Most adjustable dumbbells require no tools for standard assembly—spinlock collars and selector dials are designed for hand tightening. However, a small wrench or pliers can help with stubborn collars, and a file may be useful for smoothing rough plate edges. Avoid using power tools, which can overtighten and damage components.
How often should I check and retighten my dumbbells?
Inspect and retighten at least once a week if you use them regularly, and always after heavy or high-rep sessions. For spinlocks, check before each workout. Selectorized and quick-change systems benefit from monthly checks to ensure mechanisms remain smooth and secure.
Where to Find More Assembly Support and Safety Guidance
For additional tips and safety standards on home exercise equipment, the National Academy of Sports Medicine offers guidelines on proper use and maintenance. For plate compatibility and safe weight progression, check the Wikipedia overview of dumbbells for a technical breakdown of types and specs. These resources can help clarify questions not covered in your product’s manual.
The right assembly makes all the difference. Get it right the first time, and your adjustable dumbbells will serve you for years—without rattles, jams, or surprise failures. Take a few extra minutes to follow the right steps, and you’ll spend more time lifting, less time troubleshooting.


Last updated: June 2026 · About our research